Saturday 10 September 2016

The Monkey and The Rabbit

It has been and exceptionally long time since I posted here, huh? That was in no way intentional, but life does have a habit of, you know, getting in the way. Final year of an undergraduate and a Masters degree kind of take precedent and, truly, steal all of your free time and sap you of your hobbies. It has honestly taken until now (nearly a year since I graduate my MSc) to finally 'fall back' into many of the things I loved doing beforehand.

Barnes & Noble Leatherbound,
issued in the 150th Anniversary year.
That, and I appear to have developed a terrible habit of starting projects and taking far, far too long to finish them (if at all). I always used to pride myself on always completing a knitting project! Ah, the naïveté of youth. That is not to say I haven't done, and seen to the end, a single craft in the past two plus years, it's just I can't say I've really completed much of note.

But then, babies happened. Not mine, thankfully, but between my brother and my best friend there are tiny alienoid monkeys abound (or soon to be). Babies are a fantastic way of reigniting the crafty senses (this is presumably not true if the babies are yours), because baby clothes are adorable and quick to knit, and toys! I love knitting toys, but I already have far, far too many in my house (mostly on my bed; there's barely any room for my boyfriend!). I know, I know, no such thing as 'too many toys', bit like that mysterious lie about 'too many books'. Still, it's best if I knit toys as gifts, and babies need gifts and babies need toys. 

I'm still yet to decide what to make for my best friend's baby, but, fortunately, I have a nice six month window to get that project going. On the other hand, my brother's wife popped out a squiggly creature last month, so that project has drawn to its inevitable close.

Initially, I had decided to knit my brother's baby a mermaid tail sleeping bag (because, seriously, just look at how cute it is!), but then I found out my mother way making the baby a blanket, and they already had a couple of store bought travel blankets. Even though newborns do very little other than sleep and poo, I felt that the baby was probably going to be blankied out, so a toy it was!

After some deliberation, I decided to make a character from one of my favourite children's books; a white rabbit. There was a couple of reasons for this; I knew that I wanted to buy the baby a book (a proper book, not a fabric or cardboard baby book), as books have been such a comfort to me all my life and I know that began when I was tiny (my parents were already reading bedtime stories to my older brother by the time I came along and joined in the fun, so stories and books have been part of my daily ritual near enough from birth). Alice in Wonderland and Through the Looking Glass seemed appropriate as not only are they are much loved by myself, they're two of about four books my brother has actually ever read (and, if I remember correctly, it's one of my brother's favourite Disney films). Once I'd decided which book to get, it seemed like a nice idea for the baby to have one of the characters; I chose the White Rabbit over Alice or the Mad Hatter (for example), partly because my brother likes rabbits. He never understood mine and my mother's absolute adoration for the ridiculousness that is guinea pigs, but he does like rabbits.

So it was decided, I would make a White Rabbit! It took a surprising amount of time to find a suitable pattern; there are a few actual White Rabbit patterns (including an amazing one by Alan Dart, which is unfortunately out of print) and plenty of adorable 'real' rabbit patterns, but ideally I needed something that came with clothes patterns (after all, generic teddy bear jumper pattern isn't going to fit every generic teddy bear pattern). After a while of trawling through lots of rabbit with baskets of eggs, I thought that maybe I should look for bears; after all, how hard can it be to rabbit-ify a teddy? As it happens, when I searched for patterns of bears with jackets, I managed to find a pattern for a bear and a rabbit, including a jacket, a hoodie, a hat, a dress and a pair of dungarees. Best of all? The pattern was free!

Unknown, White Frost, Gold and Sea Glass
Now I had a pattern, I needed baby-proof yarns. For myself, I might spend over £10 per skein for a cashmere-merino-silk blend, but not for babies. Babies do not get luxury. Make a baby toy out of luxury yarns and one of two things will happen; it will get destroyed (accidentally of course; everyone knows that baby drool is high acidic and can burn through ten inch reinforced steel) or it will get placed on a shelf, in pristine condition forever, but unloved (well, unplayed with, which is the same thing in my mind). Babies need something soft, something unlikely to cause a reaction (allergies to natural fibres are more likely than allergies to synthetic fibres) and something that is easy to clean. That mostly means acrylic or acrylic blends. I did a little bit of research and it would appear that Lion Brand have yarns specifically designed for baby use. I went for Lion Brand Wool Ease (worsted weight, acrylic-wool blend) as suggested by LoveKnitting in their ‘baby yarns’, in Gold and White Frost. I would have used their Babysoft yarn, which is complete synthetic (DK acrylic-nylon blend), but I needed a heavier weight, so Wool Ease it was! I also wanted something ‘patchy’ that would make a nice ‘tweedy’ looking jacket; LoveKnitting suggested Knit One Crochet Too Fleurtini, which had a loose weave and a lovely array of colours. I would have gone for Ocean but they were out of stock, so instead I bought Sea Glass, which is much paler and more pastel coloured in real life. I should probably have checked before buying as, unlike the Wool Ease the Fleurtini cannot be machine washed. Ah well. 

I also treated myself to a set of KnitPro Royale needles, which only came out last month. The circulars have been around for about a year, but the straights and DPNs are brand new. They are a delight to knit with and I do intend to do a full review of them alongside my equally fancy (and equally expensive) Carbonz, also by KnitPro.

KnitPro Royal straights

All in all the yarn cost me just under £20; I know, don’t let anyone ever try to convince you that crafting is a cheap hobby (I do have quite a bit of each skein left though, which I’m sure will get assimilated into other projects at some point). Unfortunately, when I ordered, I hadn’t realised that the yarn would be being shipped from America, meaning there would be more than a week wait for it to arrive. Which wouldn’t have been an issue if I hadn’t decided to knit the baby toys so late into the pregnancy. 

Two arms, a foot and a tail.
Where it all began...


Now, I couldn’t exactly turn up empty handed. As it happened, there had been an ongoing joke that my brother wasn’t having a rhesus baby but a rhesus monkey and I had realised that, much like myself, the baby was going to be born in the Year of the Monkey (I like the Chinese Zodiac). I’d also recently found a ‘Knit-A-Critter’ kit that I’d bought in The Works for about £5 years ago, which contained a pattern for a rather cute looking monkey. I say pattern, it was more an ‘idea’ as all of the critters to knit in the booklet are essentially two ovals sewn together to make a head and body with various flat shapes sewn onto them to make body parts. I mean, these sorts of kits are always kinda crap, but the designs really are adorable and they’re quick and easy, which makes them ideal for gifts. Rather than going out of my way to buy special yarn for this project (and run the risk of that taking too long to arrive), I raided my stash and found some left over tan yarn from the Mouse Family project I worked on so long ago. Normally a monkey might be made from a chocolatey brown coloured yarn, but this monkey was going to be based off of a Rhesus Macaque (and a little bit of Sun Wu Kong).


As I said, the pattern for the monkey was essentially a knitting graph to make a couple of ovals; I thought to myself, why make two and sew them together when I can knit on the round? What a brilliant idea, how clever am I! And so proud of myself I was (despite realising early on that garter stitch is far more difficult on the round than as a straight piece), 
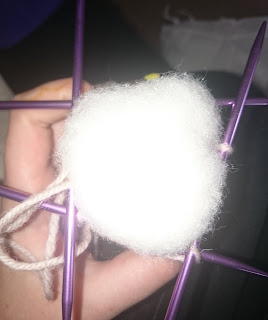
right up until two thirds of knitting the body (when I began to stuff it) when I realised that I had made a grave mistake. The pattern, which I hadn’t bothered to read given that it was only about three sentences, said to sew the arms, legs and ears between the two body pieces.

It was not a good day...
Well. Bugger. That’s not going to happen when there are no sides! So instead I had to sew all the bits on individually and hope that my sewing skills were good enough to hide the seams. I also decided to knit the limbs on the round to make the sewing absolutely minimum. What can I say? I am a knitter, not a sewer (which is why my Lincoln Imp sits fully knitted and unassembled in my office and has done for… A long time). I also knitted the tail about twice as long because monkeys need long curly tails! Furthermore, I realised that knitting on the round was all well and good until I added the stuffing; it then went from a tight knit to a rather loose fabric, which I had to sew up retrospectively. Over all, not the best idea I have ever had.

So once I had knitted and sewn all the monkey bits together I was left with a faceless creature sat on my bedside table for a couple of weeks, which wasn’t at all creepy. Still, with the addition of limbs, the Monkey no longer looked like a giant, knitted peanut.

From single footed peanut...
... To faceless being.


So that was the monkey near enough complete. I needed to get some felt to make a face, a little neckerchief and a staff (I thought about i-cord, but decided it wouldn’t be stiff enough, and using toothpicks to keep it straight probably wasn’t the best idea for a baby toy). I also went to the effort of buying a little charm bracelet charm in the shape of, of course, a little monkey. No real reason, just I got my traditional charm bracelet at eighteen and my Pandora charm bracelet at twenty-one (this one was from my brother); I thought it’d be nice for the baby to have a charm for a future bracelet that was as old as she was. I think this may, in part, be due to the story of my gold pendant from my Gran. It’s bittersweet and, yes, has made my friends tear up upon hearing it (so have a care with the following). Without going in to too many details, my Gran bought me a pendant for my eighteenth birthday and asked my mother to buy me the necklace. This is lovely in its own right, but by no means saddening. Until I tell you that my Gran died before I turned two.  It’s an incredibly important piece of jewellery to me for that reason and possibly why I feel that getting presents as an adult that have a history are so special. I don’t intend to die before my brother’s baby turns eighteen, but I still feel that it would be wonderful for her to have something given to her as an adult that begins with her birth. That, and I, being a monkey myself, have a pendant I wear near enough every day which is the Chinese symbol for ‘Monkey’. No prizes for guessing which family member bought it for me as a birthday present several years ago.


With the monkey mostly done, I moved on to the task of the rabbit which, being a knitter, I knew was going to take a while but fifteen hours. That’s not including assembly. I have such a love hate relationship with Knitting Buddy app I downloaded for my phone, which includes a timer for projects. So much time, for such simple projects!

I say that, I did over complicate things by creating a waistcoat (which included altering the coat pattern).  I also decided to add a pattern to the waistcoat, just to make things a bit more interesting. My boyfriend helped me choose and between us we decided that ‘moss rib stitch’ was the way forward; it is, as the name suggests, a combination of moss stitch and rib stitch. Or ‘bobbly vertical lines’ to those of you who do not knit. I kept getting it wrong and having to pull rows back every now and then, which was frustrating, but that’s mostly because I was knitting in the early hours of the morning on a work night.

It’s a good job I require practically zero sleep. I didn’t get to bed earlier than 1:30am all week (and I work a full time, 9-5, Monday to Friday job). Normally I wouldn’t burn myself out quite this much on a knitting project, but a couple of things had come up. Firstly, the yarn coming from America. Then I was working on the Monkey. Then I realised that I was seeing the baby at the beginning of September, not the end like I had originally thought and time scaled my knitting to accordingly.

Fft.

Yes, he is in anatomical position.
Sunday (T minus 7 days until baby meeting) I had the three components for the head, which has been knitted to the sweet trills of Powerwolf and Ghost. By the Friday I had everything knitted and the seams sewn (that’s three pieces for the head, two ears, two arms, two legs, one body piece, two jacket front pieces, one jacket back, two sleeves, two waistcoat front pieces and one waistcoat back). I had also stuffed the head and the body. My boyfriend had been out on the Friday, so I had settled in with Netflix (The Little Prince and Jim Henson’s Labyrinth were players) for the night and just knit. I had less than forty eight hours until I was meeting the baby and only a book, a charm and two unfinished projects to show for it. To make matters worse, I was busy all day Saturday, so I could not dedicate my time to the projects (well, I say it was worse but I just goddamn love Colchester Zoo).
Saturday night, after a long day involving lots of walking and gawking at animals (although there was no hilarious sex or poop throwing this time) I began what I prayed was the end in a hotel room in what felt like the middle of nowhere. My goal was to finish one; I couldn’t turn up with neither, but I could always hold one back until Christmas if necessary.

Except this is me. Who am I kidding? I don’t stop until it’s done.

This is moss stitch...

... This is not (ribbed stitch).

This is just... Odd.
Bit by bit I pieced together the rabbit and his clothes. There was more knitting to be done, too, as the collar of the jacket was picked up stitches after the three pieces had been sewn together. Talking of the jacket, just as I was finish the back piece on the Friday I realised I had ballsed up the moss stitch at the bottom and like hell was I pulling back twenty rows of knitting when I was on a time limit. The knitting pattern said that moss stitch is ‘Row 1: Knit 1, Purl 1, Knit 1, Purl 1...(continue across as directed) Row 2: Knit the Purl sts, Purl the Knit sts.’. Well, that’s rib stitch for sure. For moss stitch, if you have four stitches, the right side row would be K1, P1, K1, P1, then the wrong side row goes P1, K1, P1, K1. So you knit the knit stitches and purl the purl stitches; the stitches stay the same! (Whereas rib stitch on four stitches would be, RS K1, P1, K1, P1 and WS K1, P1, K1, P1; it’s all about keeping the knot of each stitch on the same side of the fabric for rib stitch and alternating it for moss). I know the difference between the two stitches and I’ve knitted both before and yet I still cocked up. Ah well. I made sure to continue the rib pattern at the base of the two front pieces for the jacket, and used moss stitch at the open sides, the sleeve cuffs and the collar; I did away entirely with these ‘borders’ for the waistcoat!

Hullo!
After the clothes were sorted, I needed to embroider the face. This came out much better than I expected! I was very happy with just how cute and smiley the rabbit looked. The pattern suggested French knots for eyes rather than buttons if giving to a small child. I had no idea what these were, so to Youtube! Took me a little while to get the hang of, but once I did I was very happy. I am glad to add this to my skill base, as I feel it’ll come in handy for future projects. It’s actually very simple, yet works perfectly well for eyes or other embellishments. I also used the French knot method to make buttons for the waistcoat and jacket; it wasn’t until I had nearly finished all the knitting that I realised the problem of clothing buttons. Tiny buttons were hardly suitable for a baby, but I didn’t want to sew the clothing on, which seemed to be my only option. Then I realised the ease of the French knot and, with the help of a trust crochet hook, pulled them though the fabric on the waistcoat, securing it around the rabbit’s tummy without having to sew anything in place! They are probably not the most secure buttons (the French knots for the rabbits eyes are far more secure), but I figure that if they ever fall off they are easy enough to replace and, when the baby is less baby and more adult, maybe they can be supplanted by actual buttons.

The White Rabbit, waiting for adventures in Wonderland.


I would say ‘with the rabbit complete, it was time to finish the Monkey’, but in reality I chopped and changed between the two throughout the night. The Monkey entered the weekend mostly complete. S/he needed a face, which I had to embroider and sew into place, a little scarf and a staff. I had struggled to find any tan coloured felt at the local craft shop, so ended up buying a ‘sew your own Pug purse’ kit with pre-cut felt pieces and a plastic needle from The Works. Honestly all I could find (although, irksome as it is, I found tan felt for 60p a sheet in the craft shop today). I had also left the template at home, which probably wasn’t too bad a thing, given that I think it was too big for my monkey anyway. I embroidered the face with DK yarn and sewed it in place with fine thread. I was less happy with the Monkey face than the Rabbit; it looked a little ‘off’ to me, and I had sewn the felt a little low and a little skew-whiff. That’s what you get for not pinning before sewing. On the other hand, it is the mistakes that make the quirks of handmade items, and it is the quirks that make them unique and loveable.

Sun Wu Kong in Monkey Magic
The neckerchief was a piece of folded yellow felt; this I has been able to get a small sheet of; unfortunately a little too small, as I wasn’t able to tie it around the Monkey’s neck as loosely as I would have liked. As such, this, unlike the Rabbit’s clothing, was sewn together. It’s not sewn to the Monkey, but the ends were, with some stretching of the fabric, attached to each other.  For the staff I rolled another piece of yellow felt into a tube and flattened. After I sewed this together, I felt it too plain, so wrapped some of the gold yarn from the Rabbit’s waistcoat around it; but then it just looked like bamboo, so I wrapped black yarn around it too. I think it looks snazzy enough now. I had toyed with the idea of cutting out a ‘crown’ as worn by Sun Wu Kong for this Monkey, but decided against it; unlike the White Rabbit, this Monkey wasn’t representing a particular character, but was merely taking elements from them. The neckerchief and the staff made the Monkey have the appropriate ‘oriental’ feel I was going for and, to me at least, really made this toy the loveable critter it is, taking it away from any other ‘knitted critter’ and bringing to its Zodiac influences a focus. Once the staff was sewn in place I cut a length of black yarn and hung the monkey charm from it as a crude necklace; it was intended to stay on the Monkey as it was hardly baby safe, but somehow it flew off across the room when my brother showed it to his wife. Fortunately it was found and wasn’t damaged and, given neither the yarn nor the split ring broke, I’m not entirely sure how it happened.
Ready for mischief.

I didn’t time how long it took to assemble everything. Probably about ten hours in the end, for both the Monkey and the White Rabbit. As such, I finally crawled in to bed at about quarter to four in the morning. Was it worth it? Yes, it was. I’m really very pleased with both toys, but in particular the White Rabbit. Sometimes you finish a project and it’s not quite as winsome as you had hoped; other times it surpasses your expectations. This was definitely the latter.

I think my brother and his wife appreciated the gifts; I’m not sure which they were most pleased with. My brother did like the Monkey though and instantly recognised the significance. Later, after all the cuddles had been had and I had returned home, I asked my brother what the baby’s comments were on the gifts, he sent this as her response when interviewed.

Literally laughed so hard I cried.

After this, I think I deserve a good lie in a large glass of whiskey, don’t you?
This project in facts and figures; the White Rabbit took approximately fifteen hours 
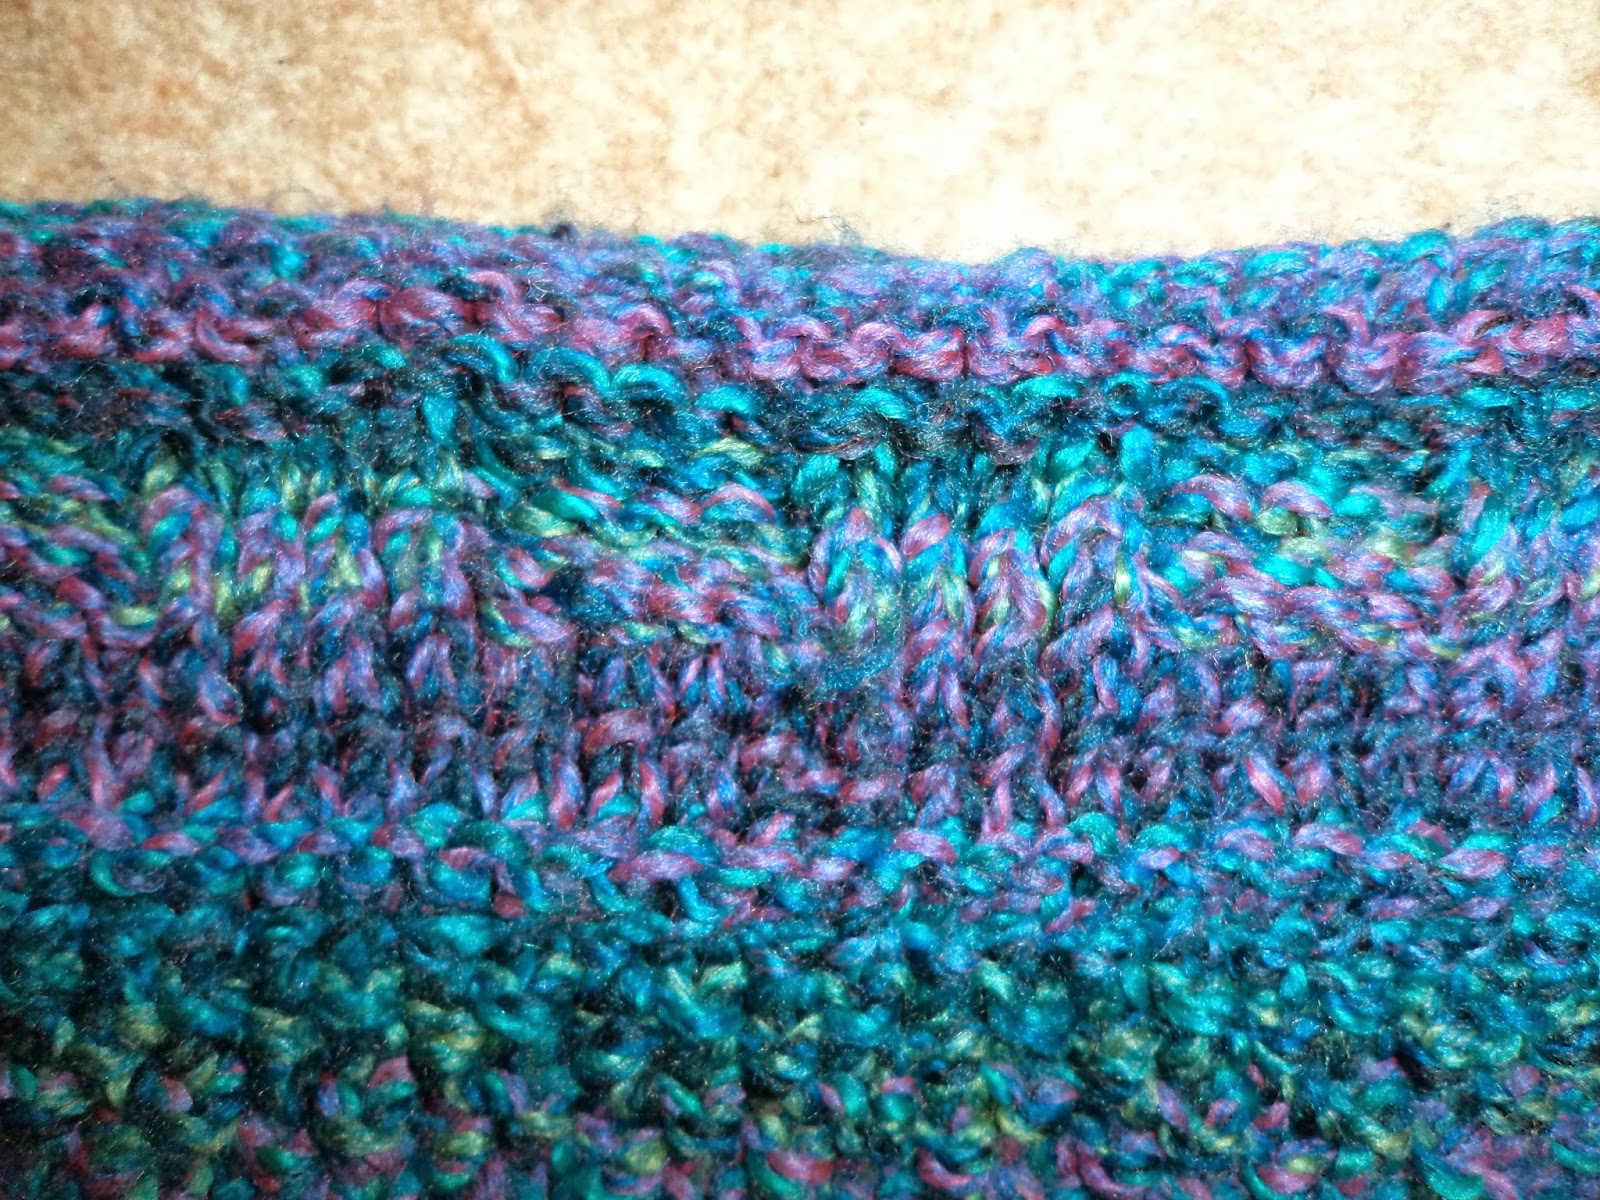
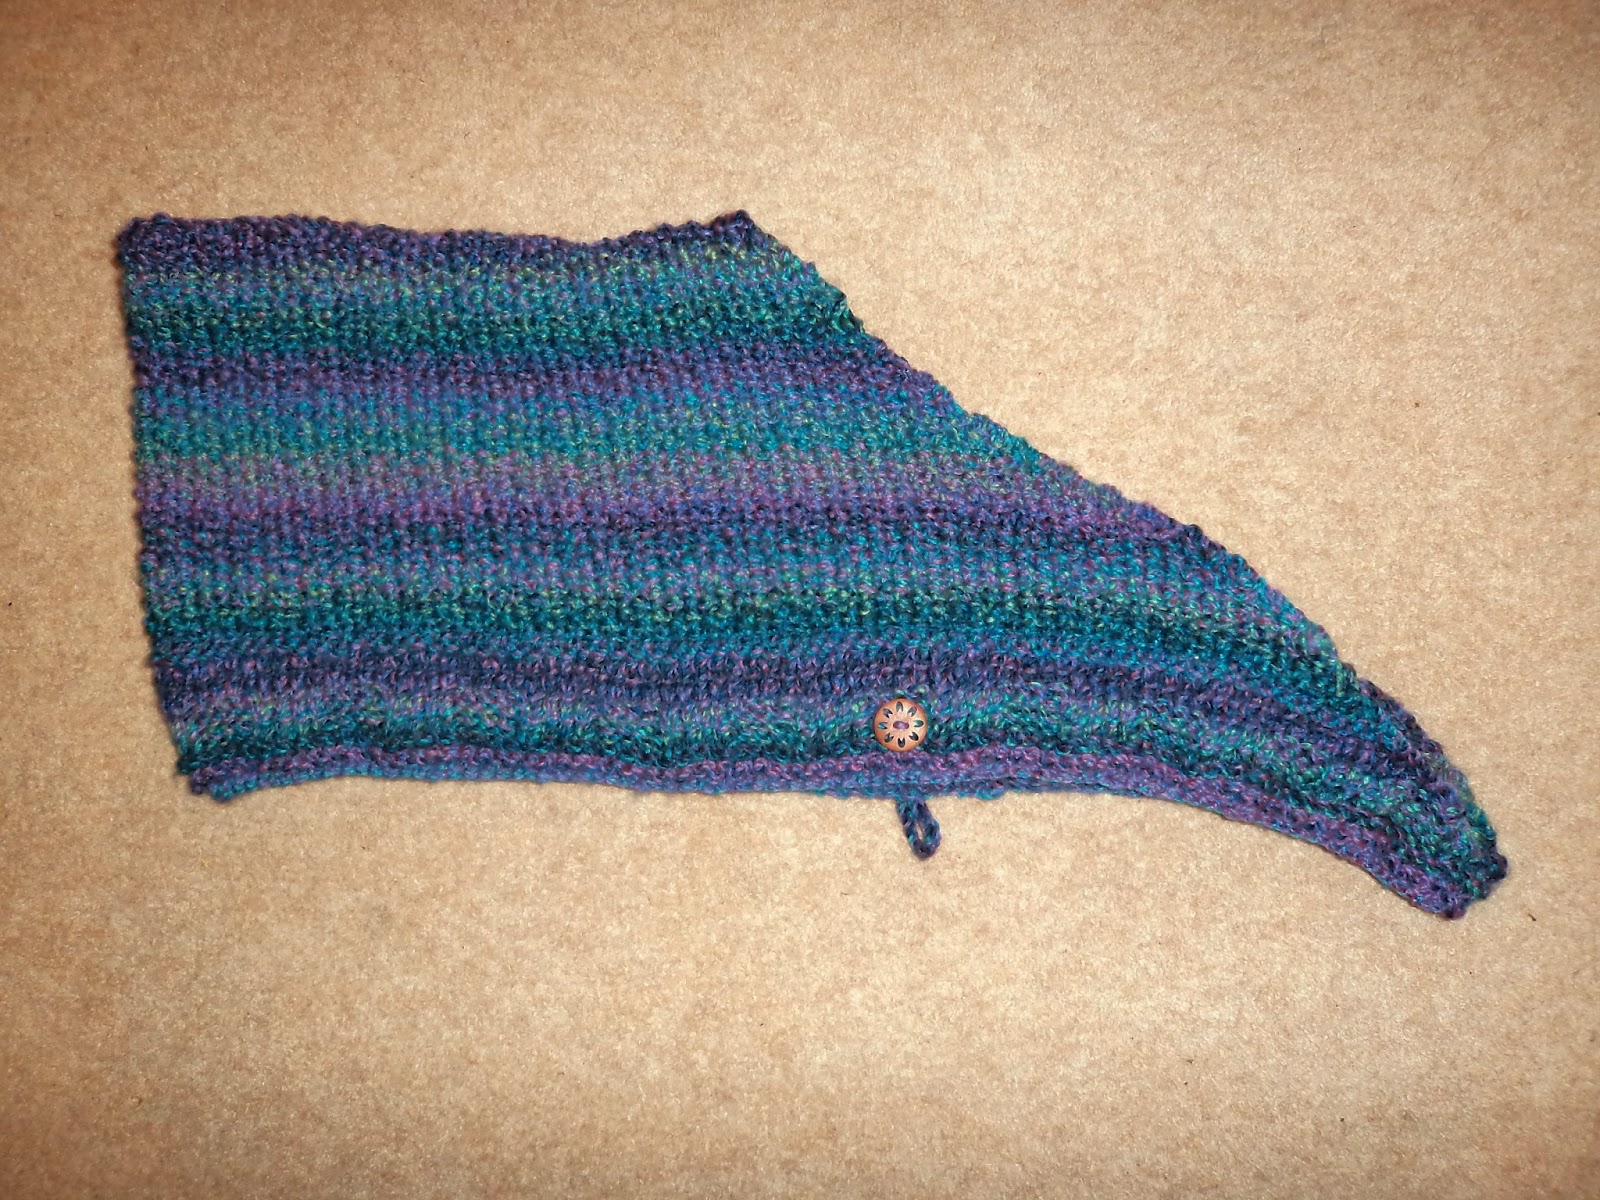
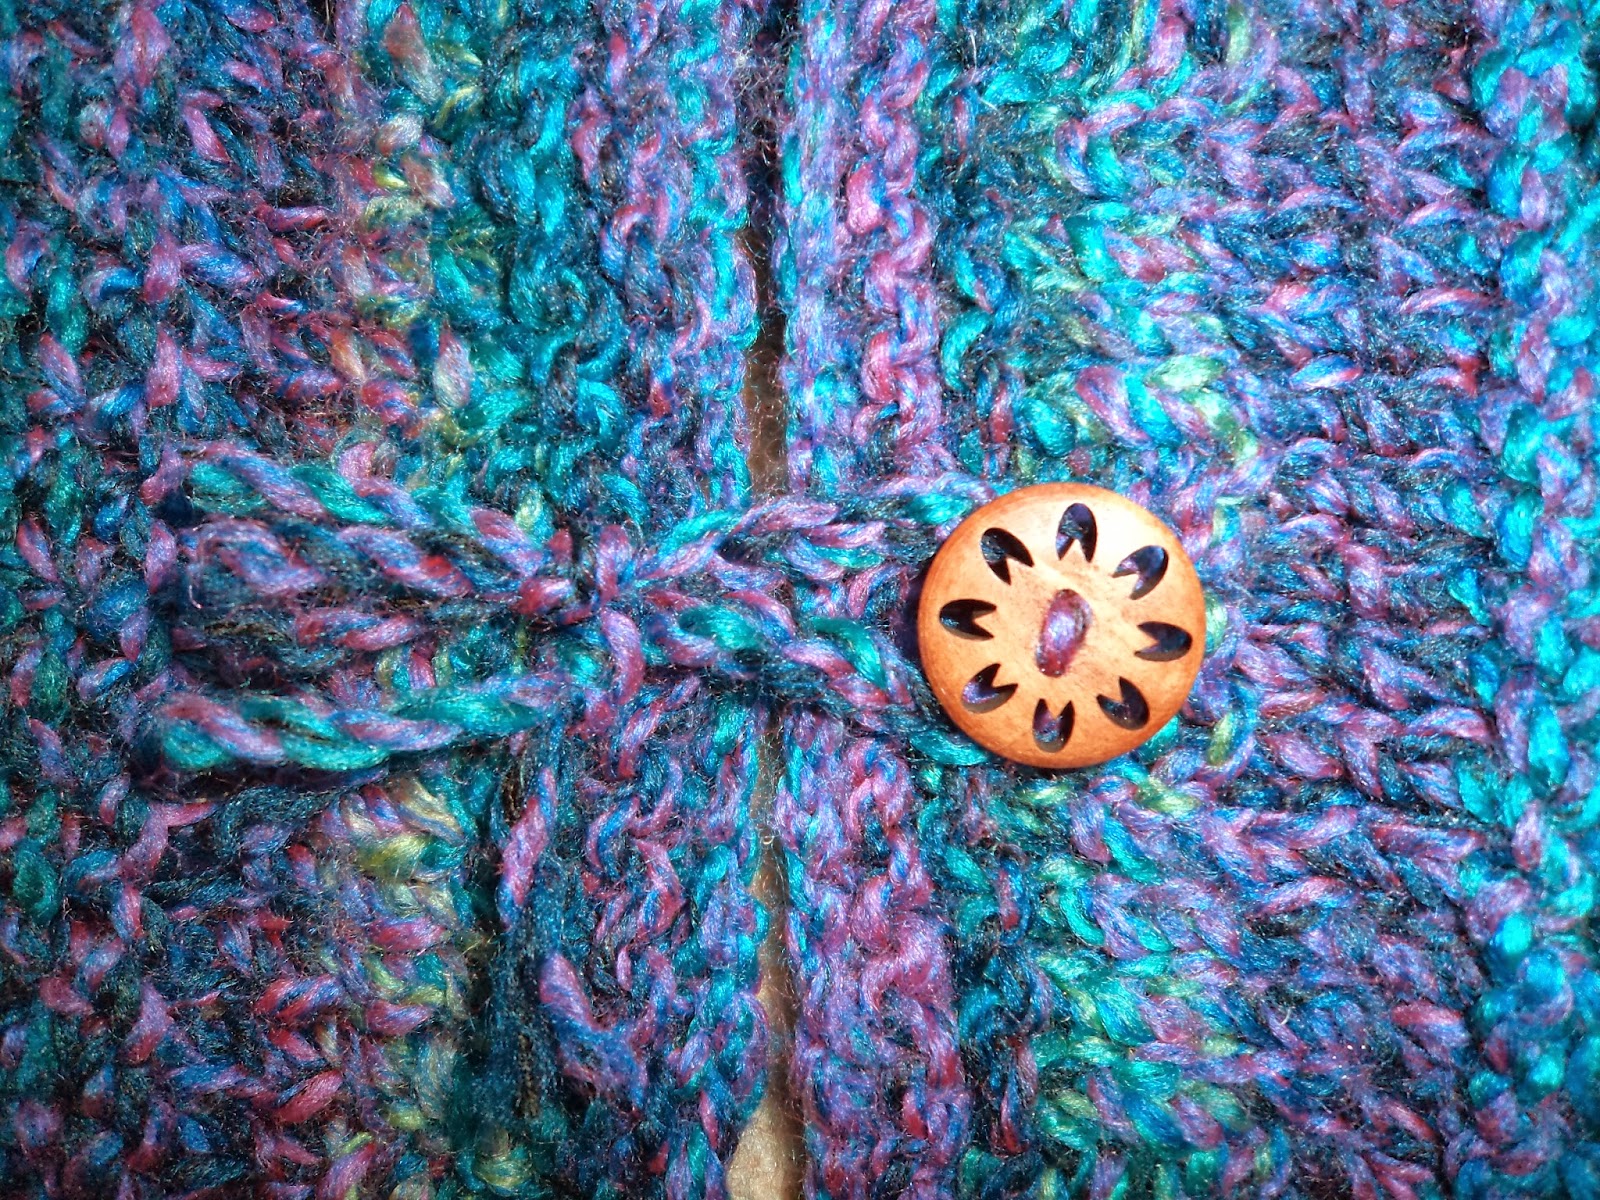
to knit and another five or six to assemble. The yarns used were Lion Brand Wool Ease in White Frost (rabbit) and Gold (waistcoat) and Knit One Crochet Two Fleurtini in Sea Glass (jacket), all in DK. Yarn cost about £20 in total. I used approximately 50g of the White Frost and 10g each of the Gold and Sea Glass. I used 3.5mm KnitPro Royale needles costing about £10. Pattern is Rabbit and Bear by April Cromwell. Project was made over the course of about eight days in total.
The Monkey took about seven hours to knit and four to assemble. The yarn used was an unknown brand, but synthetic or at least a synthetic mix. The face, neckerchief and staff were all made from felt. Used approximately 30g of yarn and two sheets of yellow felt. Monkey was knitted on 3.75mm DPNs. Pattern is ‘Monkey’ from Knit a Critter by Top That Publishing. Project was knitted and assembled over the course of two and a half weeks.


Best friends forever!

Wednesday 14 January 2015

Craftmas '14; Sleepwear for the Beau

Firstly, please excuse the pretentious wording of the title; I know that using fancy words to refer to you partner is considered annoying in the social media world (or perhaps just when it comes from angsty teens who think they have the world figured). Still, it sounded better than 'jimjams for my boyf'.

I'd like to open this blog saying that I hope everyone has had a fantastic Christmas and a wonderful New Year. I hope you drank your weight in alcohol, ate enough food to satisfy a small army and indulged in self satisfaction at your heaps of glorious gifts, thinly veiled under the guise of 'Christmas spirit' and 'gratitude'.

Normally I'd write a blog dedicated to the crafting gifts I'd been given, but as I got just the one this year, I'll include it here. It was a 'knit and crochet' kit of a 'Mr & Mrs Snowman' by Winterworks (no, I've never heard of them either). It came complete with needles and hook (although, after reading the instructions, I realised multiple sizes of both were needed, which were not included) plus all the stuffing, yarn and polystyrene balls for the heads. It's a really cute little set and the instructions seem easy enough to follow, with the exception of the crochet pattern being in US terms (although it's mostly increases, decreases and DC(sc), so figuring out what stitch I was meant to be doing wasn't over difficult). I was pretty pleased with this as I'd really like to improve my crochet skills. I finished the body and scarf of Mr Snowman (he's crochet, while Mrs is knitted) over the Christmas period and started his hat before I realised I had more pressing matters (i.e., university assignments) to attend to. From what I've done so far though it's really fun; it's simple enough that you can still engage with your family or watch TV, making it perfect for the Christmas period. Even though the Christmas period is well and truly over, I'd like to at least finish him (if not his lady friend) over winter. I mean, hey, snowmen are wintery as much as Christmassy, right?


My snowman thus far.
Now, I apparently can't go one holiday season without making something for someone down the line, although this year was significantly less stressful and I had everything finished with more than twelve hours to spare (mainly because I was working on one gift instead of three.) Given that my immediate family all received knitted gifts last year, I felt it was only fitting that my boyfriend get a home made present this year. The fact it was sewn was less me choosing a craft and more me choosing a suitable gift; daft as it sounds, I've been pestering my boyfriend to get pyjamas for months (he'd complain that work clothes weren't comfortable in the evening; I said he needed pyjamas or 'indoor' clothes, which are just comfy and for sitting about it). He actually did buy some in October, November time and realise that, yes, pyjamas have their place after a long, tiring day.

So, he only had one pair. That meant when they needed washing, he had nothing. Simple answer? I'd get him (make him) some new pyjamas for Christmas. Well, okay, that's only half true. On discussing it with my mum, she pointed out that pyjamas trousers are incredibly simple to make but t-shirts; well, while not the hardest thing in the world, they're not dead easy either. Hence, I made some pyjama bottoms and bought a t-shirt to go with. (Hey, I had a lot of university work that I was meant to be concentrating on!)

My mum bought the fabric; there's some nice fabric shops near her, whereas there's only really one place in my city that sells fabric that I know of. That, and she knows more about how much and what type of fabric I wanted. She sent me some images of various different fabrics and we picked a charming red tartan. She brought it up a few weeks later when she was visiting our local Christmas market, along with the paper patter for a generic set of loose fitting, unisex trousers. According to mum (and she's not wrong), as long as you get the shape of the crotch right, everything will work.

Now, I know it's hardly a ground breaking project this one; it's neither my best knitting project, nor my technically best sewing project. So why am I really quite proud of this one? Well, for one, it was completely my own. There was no mum, no friends, no one around to help me or point me in the right direction. There's a pattern for pyjama trousers in my book Sewing Made Simple by Tessa Evelegh, which was sat on the living room floor through out the entire crafting process but I didn't open it once. This project was all me; no pointers, no tips, no help, from people or books or the internet.

Given that I've only had a sewing machine for less than a year and in that time I've managed a total of three projects, including this one, I'm pretty pleased with myself. Although, I confess, I did have to reread the sewing machine manual as it had been so long since I'd last used it that I had entirely forgotten how to set it up.

Sort out your crotch...
There's not a great deal to say regarding construction. My first task was to decide which side of the fabric I wanted to be the outside. Then I folded it, pinned the paper pattern to the fabric and cut (to those who don't understand sewing; it was folded so that each leg is a piece in it's own right, with one inner leg seam, rather than each leg being made out of two pieces of fabric each, with inner and outer leg seams). Repeat for second leg. Sew inner leg seams. Sew crotch (that was interesting, trying not to sew the crotch to the leg and get a smooth, rounded finish). At this point I noticed that the trouser legs were extremely baggy; fitting over me wearing my thick, fluffy pyjamas; I took to narrowing them, using my boyfriend's current pyjama trousers as a guide. I must have taken off about two inches on each leg, but it gave a much neater fit.

Working out leg width.
After this I then had to include the drawstring. This was a bit confusing for me at first, trying to work out where to put the hole for the drawstring to actually exit from. Normally, I'm sure this is what I've seen, drawstrings come out of two holes, one for each end, either side of the front seam. That seemed like an awful lot of hassle though, as I knew cutting the fabric would mean I'd have to hand sew around, to stop fraying. Plus, once it's cut, it's cut. Too big a risk, so I opted for (the not unknown) single hole. I unpicked a portion of the seam at the front; given that I'd already left a couple of cm when initially sewing it, I realised that by sewing these down it would given the opening a soft, closed off edge. Perfect. No cut fabric to fray and much sleeker looking to boot. Unpicking, lining up, resewing; it took a bit of faffing around and was probably the most time consuming/difficult aspect of the trousers, but it worked. The drawstring was just a white cotton ribbon, that I had tied knots into, then pulled apart any ribbon remaining at the end. I actually sewed the waistband with the drawstring already in place (which runs the risk of sewing the drawstring to the pyjamas; although I was careful and managed to not do this) because I really could not be bothered with threading it through.

After that the only remaining the to do was decide length and sew the cuffs. The way I'd cut it from the fabric wasn't the most conservative, as they ended up having about a foot extra of length, but I'd rather have been wasteful and got the right length, than not and risk them being too short. Once again, I used the other pyjama bottoms to determine length; when I tried them on myself they were the perfect length... Which is too long for my dear, height impaired boyfriend (eesh, I'm taller by about two inches, never mind the fact that my legs are long. I think I forgot this in this in the heat of realising the living room was covered in fabric, pins and thread and he was due home in half an hour). It was quite entertaining as I didn't cut off any of the excess fabric to begin with (just in case I made them too short), so when I held them up after sewing the cuff they looked just as long... The excess fabric was longer than the cuff/seam, so was hanging out of the bottom. Quickly realising that was the issue, I got the scissors and snipsnip. Done.

Stop, pyjama time!
Project complete. There really wasn't much else to do after that, apart from hide all the evidence (at which point I realised two pins were missing and the last thing I wanted was to have to explain where it came from when he stood on one). Overall, despite the simplicity of the project, I'm really rather content with the finished object. I think my boyfriend likes them too, which is always a bonus (and, trust me, my boyfriend would tell me if he didn't). A successful gift, I believe.

The facts and figures. I believe 3m of fabric was bought and used (very little left over), with a deep red thread left over from a previous project. It took around six hours from cutting to putting away (or, episodes 18-22 of Charmed, season six). Paper pattern, which was the single shape 'front pants', was taken from Very Easy Vogue, 9288. This is now considered a 'vintage' pattern apparently. Sorry mum, hope that doesn't make you feel too old.

Tuesday 11 November 2014

In Flanders Fields the Poppies Blow

"At the going down of the sun and in the morning,
We will remember them.
" -Ode of Remembrance, Laurence Binyon

Today is Armistice/Remembrance Day. Today is the day when we remember all the soldiers who have died for their country, for our freedom, for us. It is strange to think that a hundred years ago, men were fighting in the Great War... For me. Fighting so that I, a woman in the future, forever unknown to them, could live in a free country. They fought not just for me, but for everyone. They died not for their futures, but for ours.

So at the eleventh hour, of the eleventh day, of the eleventh month (when the ceasefire for the First World War was officially sanctioned) we honour their sacrifice with a two minute silence.

The Tower's poppies, each one a fallen soldier.
Of course, any of my British friends reading this blog will hardly need reminding of this yearly memorial to not just the fallen soldiers of the First World War, but the fallen soldiers of every conflict since (and even perhaps, as many re-enactor friends of mine might be compelled to feel, fallen soldiers of conflicts past). Yet a few weeks ago, I was in London, meeting up with my Dutch friends who were over for a holiday. Anyone who has ever been in England (and no doubt all of Britain) at the end of October and early November, will know that the country(s) is swamped in poppies, mostly paper ones pinned to coat lapels. This year, the centenary of the First World War, the Tower of London has been literally been surrounded with poppies; a scarlet, ceramic flower, one for each soldier lost. It's quite awesome, in the most literal sense of the word. My Dutch friends, fresh off their flight, had to enquire about the poppies; they'd been to England before, but they'd never seen our reverence to this flower before. So I explained; I explained about Remembrance Day, about the poem In Flanders Fields, about The Royal British Legion, the Poppy Appeal (the fund raiser for the aforementioned) and about the significance of why the poppy has become our symbol of remembrance. It was strange to have to explain something so integral to life in the British autumn. the way I understand it is we are far from being unique in this tradition; Armistice Day is commemorated in many other countries who were involved in the First World War and Remembrance Day is observed by the Commonwealth (and America have Veterans Day, which remembers all who have served, whether they died or survived). I'm sure other countries have their own memorials in other forms. It was just interesting, as I've felt that, as a nation, Britain has feels very strongly about those we lost in the First World War, especially this year. Perhaps it is reminiscent of our Victorian history, to revere and honour our dead. But the interesting thing was that the Netherlands were neutral during the First World War. Here we all were in a country remembering a conflict from a century ago; my friends must have found it a little surreal, for the British to be so thankful for something the Dutch mostly removed themselves from.

I don't know. It's the small cultural differences that I always find the most fascinating.

My first ever crochet poppy.
Wearing a poppy is a sign of respect. The Poppy Appeal give out paper poppies in return for donations; I think most people donate and, certainly, a great number of people can be seen wearing poppies around this time of year. But why is any of this on my craft blog? This is more ethnography than needle work.

Around this time last year I was starting to develop an interest in crochet. I was living with another avid knitter and an avid crocheter and was really fascinated by some of the stuff she produced. I was also working on a knitting pattern that suggested crocheting a border to the finished garment (my Harlequin slippers). I'd already crocheted myself a very simple case, that was really just a tube, to store my crochet hooks in (they're a vital knitting tool; perfect for picking up dropped stitches) but wanted another, simple pattern to improve my abilities. The thought occurred to me that maybe I could make myself a more permanent poppy; I originally looked at knitted patterns but after a short while concluded that I didn't really like the way they looked. Hence, I decided to look for crochet patterns; these were much more to my liking and the Ravelry ratings suggested that the patterns were relatively easy. So, hook in hand, I set to work and crocheted myself a little, bright poppy to wear on my coat (my coat, with poppy attached, that I accidentally left the other side of the country at my parent's place, so I've not been able to wear it this November).

Remembrance Poppies of 2014
I was pleased with my work. Pleased, but not so much that crochet became a regular thing; to be fair, all I had crocheted since was an amigurumi pumpkin for a friend. Too much knitting, too much reading (and, as I know I repeat in almost every post, too much degree). Anyway, I didn't think much of it after November, although I received quite a few compliments at the time. It wasn't until one of the girls on my course asked me if I would make her a poppy that I really thought about it again. It occurred to me that maybe other friends of mine would also like a poppy. After a status update on the book of face, I was commissioned to make about twenty crochet poppies. I asked for no money because a) that sort of defeats the object of charity crafting and b) two years ago a woman sold poppies and, although she donated 100% of her proceeds to The Royal British Legion, was accused of breaching copyright. I did ask, however, that people receiving the poppies make a donation at some point. Although, to be perfectly frank, the pattern I used doesn't match the poppies used my The Royal British Legion; the pattern was designed by an American and the leaf is shaped differently. So it is just a poppy rather than an imitation of the Royal British Legion's poppy.

I'll confess, I only managed to complete twelve of the twenty poppies requested before today. I appreciate the importance of today, but I did have an exam yesterday, which has been my priority these past two weeks. So for anyone who did not receive their poppy, I am more than happy to make you one still, as long as you don't mind having it post-Remembrance Day.

Petals and centre.
After having crocheted so many poppies in such a short space of time (many I did on the car journey down to London to see the poppies at the Tower), I do feel more confident about my skills. I think it is a great pattern for a new crocheter; it features in the round and straight (is that the right term?) crocheting but also features pretty much every stitch you need. the only thing it doesn't involve is increasing and decreasing. Plus, the whole project can be finished in less than an hour (even when it was my first one and I had no idea what I was doing; it works up very quickly). As I mentioned earlier, the pattern is American so this time I did translate it. For those who are not aware, the US and the UK use different crochet terms. It's not difficult to translate, as UK terms are pretty much US +1 (e.g., a US single crochet becomes a double crochet in the UK), but it made my life a whole lot easier, especially as the book I was using to teach me the stitches is British. Before, I always thought the US terms made more sense; the most simple stitch to do, and usually the first you learn, is a single crochet. The next simplest, and second you learn, is a double and so on. But after having actually done more crochet and starting to actually understand the mechanics behind it (as in, how each stitch is actually made and what it does in a finished project), I realised that the UK terms make way more sense. A double crochet? Yeah, two loops on the hook. Triple? That's three loops! Half treble? You only complete half the amount of stitches for three loops. I find that the UK terms just describe what it is you're meant to be doing! They make even more sense than 'knit' and 'purl', which by now are so ingrained in to my grey matter I don't think I'd forget how to do either in my lifetime. I would definitely recommend the pattern to any one wanting to learn crochet though.

Poppy leaf.
So yes, poppies. I crochet poppies now. I think it's the least I can do for those who have died for my right to sit here, in a free, relatively safe country. The fact I can write this blog, write about whatever I want, the fact I can go to university, the fact I can live this life, I owe it to them. They shed blood so that I, along with every one else, could live this life of privilege.

The facts? I used less than 50g of red acrylic yarn (which I had to make my boyfriend buy for me on his way home from work as I've completely misplaced my previous skein) for twelve poppies, probably about 25g, even less of black acrylic. I used similar amount of green cotton for the leaves. Hook size was 3.5mm. Each poppy took less than an hour to complete, although I tended to work in batches (so, five petals, then five leaves, etc.), rather than whole pieces. The pattern I used was Crochet Remembrance Poppy by Bilgewater Davis, which is a free pattern on Ravelry. The title of this post comes from In Flanders Fields by John McRae.

'If you could hear, at every jolt, the blood 
Come gargling from the froth-corrupted lungs,
Obscene as cancer, bitter as the cud

Of vile, incurable sores on innocent tongues,—

My friend, you would not tell with such high zest

To children ardent for some desperate glory,

The old Lie: Dulce et decorum est
Pro patria mori*.' -Dulce et Decorum Est by Wilfred Owen

*'It is sweet and fitting to die for one’s country.' -Horace

Thursday 30 October 2014

Blue Moon Hood

I really wish knitting was a quicker craft, then I'd be able to update this blog more often than once in a blue moon. I started it a little over a year ago (my first post was a few days after my 21st birthday) and this is going to be my twelfth post. Which averages out at a little less than once a month. I suppose that's not an awful figure, given that I'm usually a fairly busy person. That said, my new blog (which continues the Malice in Wonderland theme) is probably going to have twelve posts in a matter of months. It's just over two weeks old, two posts, I have a third that needs writing and two more planned for relatively soon (in which time I'll probably have finished the next book I'm reading and we'll be up to six).

Pre-assembly.
I guess I just read quicker than I knit. Psh. I used to have a bit of a problem when it came to books (don't worry, this is relevant to my crafting); I couldn't leave a bookshop without something in hand. Then I realised I had too many books and not enough time to read, so I gave up. Now, only one in five visits ends up with me purchasing something. Normally I'd be really proud of this (most people think I'll break my book resolve but it's been going for a year now; I will not buy... Outside of my set rules, anyway. Non-fiction, graphic novels and absolute bargains are totally allowed.) but I realised yesterday... I've just substituted books for yarn. Seriously. I cannot walk into a craft shop with quality yarns without leaving with something. I now have loads of 50g balls of super pretty yarn and... Nothing to make with them. I think I really need to get a knitting pattern book that focuses on 'one skein' (although even then, 50g is a minuscule amount). Eeeh, I'm sure I'll find something to do with them. This happened yesterday. I only went in for a button! One. Button. And I left with yarn.

I think I have issues. But then, I think that's endemic to crafters. You should see my mum's fabric hoard! (At least I realised that as gorgeous as the KnitPro Symphonie needles and crochet hooks were, like hell can I afford over £10 for a single pair, especially when I already have a pretty comprehensive set thanks to my Gran, and any that I don't I purchase for 20p a go from the local charity shops.)

Anyway, I digress. Last night I finished my latest (well, no, not really) knitting project and I was hit by a revelation (okay, okay, so I remembered this revelation); two and a half years since I learnt to knit, this is the first thing I've ever selfishly knitted for myself. I don't know if you recall but in my last post I explained my need to stop focusing on gifts for others and start focusing on gifts for myself? Yeah, this one is it. Which is pretty damned cool, if I say so myself. I just hope my gift receivers are even half as I am to get something handmade; 'cause it's such a great feeling to be able to say yep, I made this.

Okay, okay. So my need to knit selfishly started after Christmas, after I'd made three sets of knitted gifts for my family. My boyfriend had bought me a pattern (that I'm still working on) and the necessary wool, so it shouldn't have been difficult. However, it was just post Christmas and I felt like treating myself to something. I realised I no longer had a scarf (no idea where it toddled off to) and, hey, I knit, scarves are knit, why should I pay for something I can make myself? On to the Ravelry database and a search or two later and I find a pattern that I think will suit my needs. It's a hooded scarflet; I chose this over (several other) more 'regular' looking scarves because I wanted a hood (it always seems to rain when I'm not wearing my hoodie) and also because, at the time, I had the necessary yarn. It was just post-Christmas, like anywhere was going to be open, or that anyone actually wanted to leave the house.

I distinctively remember being sat trying to work out how to do long tail cast-on while watching The Gruffalo's Child on BBC. I don't know where my dad was as it was just mum and I, but it was a very Christmassy feeling, curled up on an armchair, knitting and watching fuzzy TV.

Chequered edging that is impossible to see.
Long tail cast-on is a pain, by the way. People say it gives a nice, stretchy edge rather than the firm one from regular cast-on, making it perfect for garments. Maybe it was because I was using chunky wool and big knit needles, but I don't really see the need for it. Perhaps it's the design/shape of the project; it doesn't need to fit over anything per se (like a cuff would over a wrist, for example) so it doesn't really need to be stretchy or firm. I don't know. I have used this method on a project since, and it was significantly less frustrating; probably because I a) knew what I was doing and b) didn't need to cast on 166 stitches. That is a lot of stitches. The way that long tail works, is rather than starting at the end of the yarn you start further in and make the stitches from the tail rather than the working yarn. It isn't a very difficult method of casting on, but when you have to guess how much yarn you need and get to 130 stitches before realising you didn't pull out enough? It's enough to make you want to sacrifice a small animal at an alter to the knitting Gods (I didn't, for the record. I like my pets far too much). If I remember correctly it took three tries to get the yarn at the right length for 166 stitches. Oosh.

Post-assembly.
The casting on was probably the most problematic part of the pattern, though. Well, unless you include the fact it was knitted on circulars. Knitted flat, mind you, but still knitted on circulars. I can see why the pattern said to knit on circulars rather than straights; straight needles tend to be about 10"/25cm. You can get them longer (I have some insanely long ones somewhere, that just look a little bit unwieldy) but that's the sort of length you're looking at. So anything that is going to be longer than that isn't going to fit on the needles.

To recap; have you ever seen how long 166 stitches in chunky wool is? The pattern recommends using circulars with a 47"/120cm length and, yes, you need it. The finished scarf is 47"/120cm in length. So although knitted flat, that length is needed just to keep all of the project on! this was pretty much the first time I'd ever knitted on circulars (and, by extension, the first time I've knitted flat on circulars). I really cannot fathom how people prefer circulars to straights. yes, I understand that a pair of straights in such a length would just be unusable, so the time and place for circulars, this is it, but when there's a choice? How? I know full well I'm the minority here, as most people I speak to at the very least find circulars easier than DPNs but... Yeah, no.

That said, the circulars I bought are bamboo. I don't have very many bamboo needles (fairly certain anything less than 4mm I'd snap) as I mostly use metal, but, ah! I do love knitting on bamboo. it's really smooth and slippy, but in a different way to metal. I don't know. I just like knitting on bamboo needles. They're also no where near as cold as metal needles (obviously), which is a bonus in winter. Maybe I should invest in some more bamboo needles. Hmm. Then again, I do give my needles a beating at times, which metal needles survive much easier.

As an aside, I'm writing this blog while listening to the likes of Powerwolf and Sabaton. Knitting never felt so metal...

Button battle!
The hood has a sort of chequered trim, which wasn't a difficult pattern. it was just 'k5, p5' for the length, mostly. Throw in a few decreases. After the edging was done, it was just moss stitch. Moss stitch is dead easy, but it's one of my favourite stitches. It just looks all bobbly. The pattern refers to it as seed stitch, but they're the same. It's just 'row one; k1, p1, k1, p1, row two; k1, p1, k1, p1'. Easy stuff. To be honest, I used a variegated yarn (the same for my mum's slippers); the edging at the very least would have been more distinct had I used a solid colour. I think, if I were to repeat this pattern, it would either be in a solid colour (like the pattern suggests) or I'd do the edging in a solid colour then switch for the main hood (either to variegated or just a complimentary solid). Ah, well. It still looks pretty! And it used up some of my stash, rather than leaving me with extra yarn.

Fastening
The pattern is knitted in an equilateral trapezium shape; you start at the outer edge and work your way to the back, decreasing along the way. There's a little assembly required, but it really is absolute minimum. Which brings us to how one, simple project took me nearly a year to complete. I started the knitting in the winter, as established earlier. I did, however, get distracted by other projects, such Major Clanger, but over all the kitting didn't take that long. I mean, it's a (physically) large project so it was a bit time consuming, but it wasn't time consuming in the same way as smaller, more complex pieces are. It was great for sitting in front of the TV to do as I didn't have to think. My hands just did. So, yes. By the time I'd finished all the knitting it was no longer winter. It was spring. The cold weather had let up and I kind of no longer needed a scarf. I mean, I know it's England, but, no. It was too warm for a scarf by that point. Besides, I didn't have a toggle/button to finish it. So the scarf was left with one stitch left to cast off and a fastening to sew on.

Pixie hood Malice.
Which brings us full circle. Remember I said I needed to buy a button yesterday? I wanted that button so I could finally finish my scarf. You know, seeing as the weather is actually getting pretty cool again (although the temperatures of the labs are like a morgue; at this rate I'll be needing gloves, scarves and hats for inside). I was originally just going to get a wooden toggle, but then I saw a couple of buttons I preferred; bought both, used one. As you do. Actually, one of the buttons I bought is sort of brass and green; I forgot that I'd used the blue wool, not the purple/green. Good job I did buy both in the end, as the little wooden button I did get looks really effective.

Last night I finally cast off the last stitch, sewed the back hem and added a button and fastening. Okay, so I placed the fastening in the wrong place to begin with, but no worries. Not too much of an issue to change. Given that I keep making toys at the moment, having something with simple assembly threw me a bit. Only took a couple of hours, if that. and I was being lazy and not putting my all in to it.

So now I have a scarf! Finally! And I also have a knitted item for myself. Overall? Yeah, I'm happy with this. I can't wait to wear it out.

Showing off indoors.
Facts and figures. I used James C. Brett Marble chunky, in the blue. The pattern says I need about 300g, but I think I used less. It was a 500g ball and I swear I'd used more than 200g in a previous project. The needles were 8mm (UK 0) bamboo, 47"/120cm circulars. the fastening was made out of plaited yarn, the button was just a small 1"/2.5cm wooden piece. The pattern was Sage Woodland Hood by Rena Varsakis. Pattern is meant to have a tassel at the hood apex, but I chose not to include this. Original post was written in April, before Blogger decided to delete it...