In my last blog post I mentioned that I had two knitting projects over summer. The second (and the object of today's post) was a gift to a university friend, a joint 21st birthday and a 'welcome home from China' present. I knitted him a scarf and the story behind this is that before he left for a six month sojourn in the East I promised to knit him one and send it out; he told me not to send it, but instead keep it here in England so that we would have reason to meet up again when he returned. So I did.
Normally I don't knit scarves as I
find them a little repetitive so I decided to make it a little more
interesting. As I mentioned last time, there's still a lot of knitting
techniques I have to learn so I decided to make what is known as a
'sampler' scarf. Essentially, the scarf was made up of different pannels
of stitch patterns I had not tried before. I have a knitting book (it's
fantastic; Dorling Kindersley's
A Little Course in Knitting, I
would recommend it to anyone who has just taken up knitting as it covers
everything from casting on/off, to knitting on the round, intarsia and
more. Personally, I find the yarn weight and needle charts invaluble;
they tell you which size needles for which weight yarn and a converter
for needle sizes. It really helps when I just need reminding how to do
something.) which has a couple of sections on patterns/textures and how
to knit them. I chose my favourites and some which I thought looked
challenging and started putting them together to make a scarf pattern.
 |
| Left to right; diamond stitch, four stitch cable, basketweave. |
I
do apologise for the poor quality of the photos; they don't
really show the level of detail in most of the panels, due to poor
lighting and my choice of a dark coloured wool. The scarf pattern was of
my own design and the first thing I've ever knitted out of my head
rather than off a page (if you don't include the fact I followed
individual patterns for the panels). It had a garter stitch border; ten
rows beginning and end, and six rows between each panel (to ensure that
each panel started on a right side, so that all the patterns would be
facing the right way).
 |
| Left to right; zigzag stitch, woven cable, double rib. |
The
first panel was diamond stitch which, as the name would suggest, gives a
diamond shaped pattern. The second panel was four stitch cable; I had
never cabled before and really wanted to try it out as I've earmarked a
beautiful cabled jumper for a fture project. I was amazed at how simple
cabling actually is; it looks really very difficult (and also really
effective; one of the more obvious pattern designs). I don't own any
cabling needles in the right size, so I had to use a crochet hook as the
third needle. I actually found using a crochet needle was really
useful, using the hook to slip the stitches over. The third panel was
basket weave; it gives a nice chequerboard effect and is one of my
favourite panels in this particular scarf.
 |
| Left to right; double rib, honeycomb stitch, stocking stitch 'B'. |
The
fourth panel (which, unfortunately, is probably the least clear panel
in the photos) was a zigzag stitch, using a technique called 'twist
overs' (it's like a single stitch cable). It looks fairly easy, but of
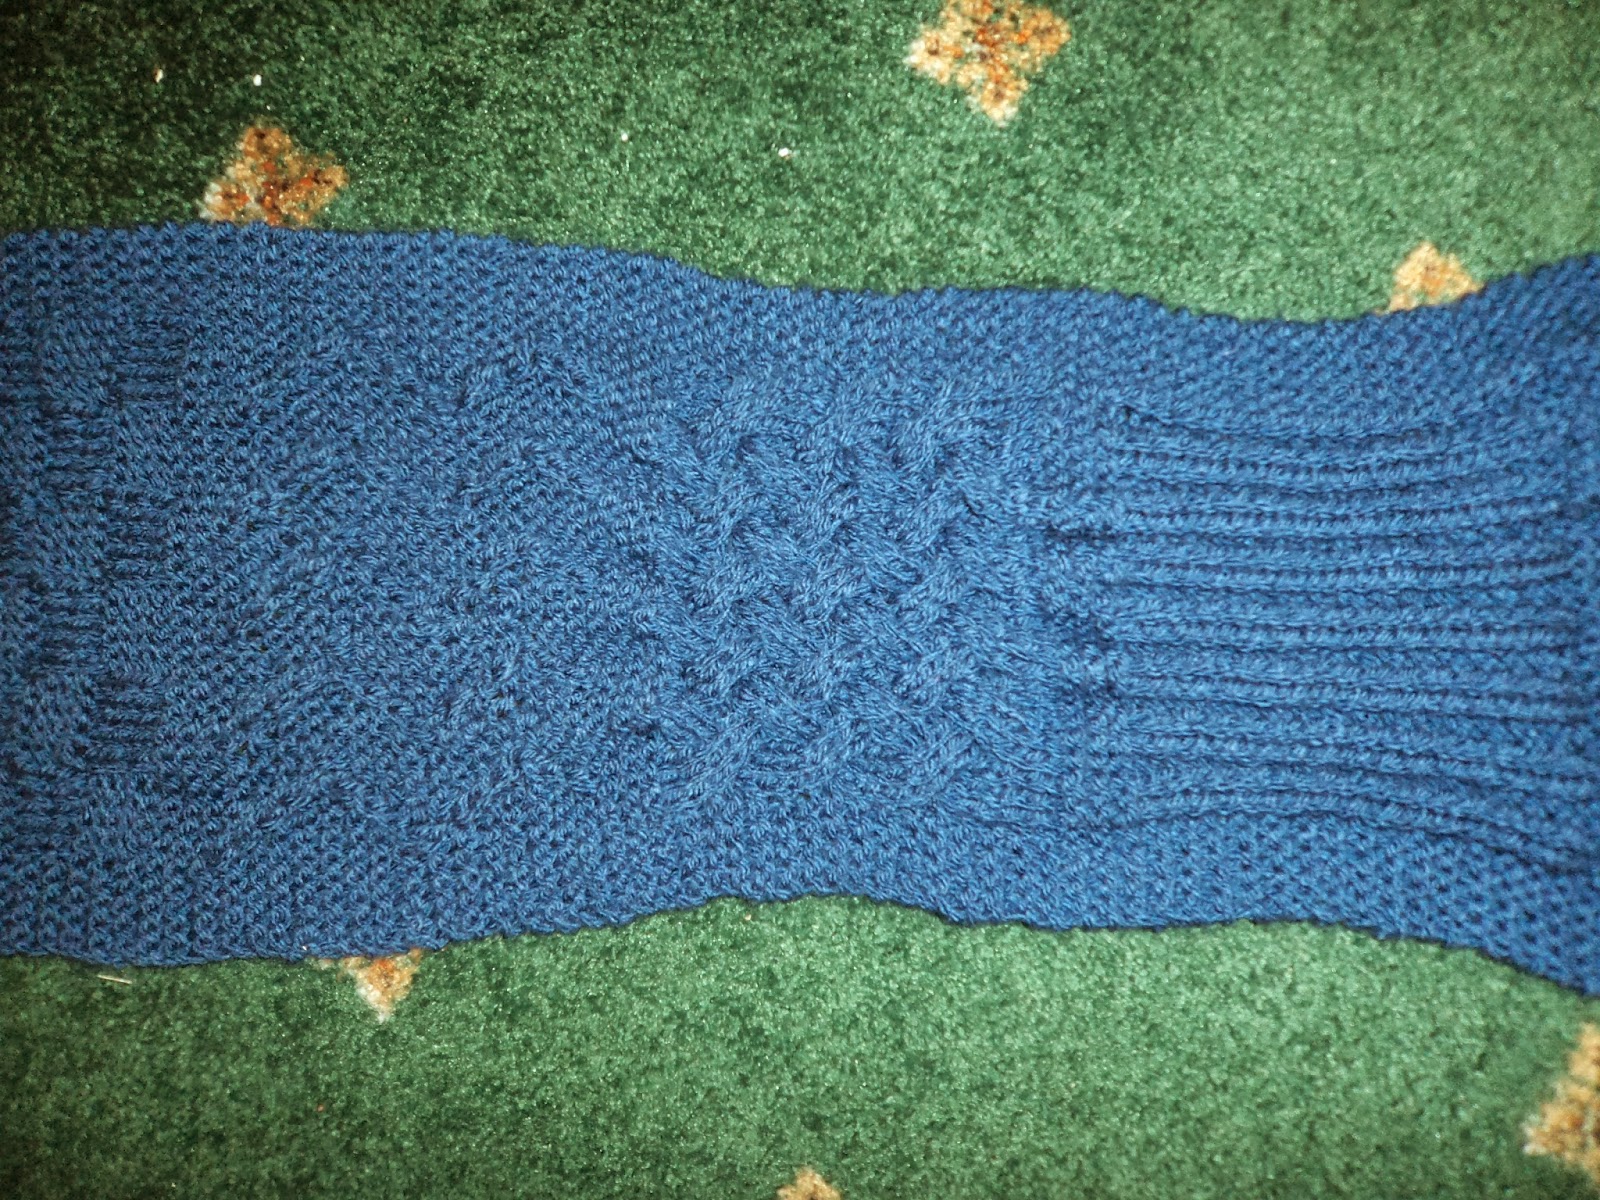
all the panels that was the one I struggled most with. I had to pull back about ten rows of that pattern (about a third of the panel), five of them in one go. Blergh. I hate that pattern. And, personally, I think it shows; the mistake are abundant in that particular panel, although to the non-knitty eye you probably would not notice over much. The fifth panel was woven cable, which is another cabled stitch. It sort of looks like, as the name would suggest, a diagonal weave. As this was the first time I had knitted it (and only the second time I had knitted cable) I was not aware how tight cabling pulls the knitting. As you can see from the photograph below, the scarf gets significantly thinner on that panel. Doesn't help that the sixth panel was double rib stitch, which also pulls the knitting in (it's used to creat elasticity in garments, such as cuffs on jumpers and socks). If I'd known what I know now, I would have put the panels in a diffewrent order, to try and keep the tension the same/similar throughout. The seventh, and final pattern panel, was honeycomb stitch. It's pretty simple (probably the most simple of all the panels) but gives a nice texture. The recipient said that this was his favourite panel.
 |
| Close up of the 'B' panel |
The eighth, and final, panel was completely my own design. No copying from books or finding free patterns online. Nope, this was me using my own knowledge and ideas to create something. It's not perfect but I'm pretty pleased with how it turned out in the end. I'm not sure if there is a name for this technique, but it's essentially a stocking stitch panel, with the 'B' made out of purl stitches. My method for composing the panel was using trusty ol' MSPaint. I made a grid, 30x30 and then coloured in the squares that I wanted to form the 'B'. On right side (rs) rows, I knitted the white squares and purled the black squares, while on the wrong side (ws) rows, I purled the white squares and knitted the black. When making this kind of chart it's important to remember rs rows are read left to right, while ws rows are read right to left. I actually transcribed the picture into text though (i.e., the first row became k6, p12, k12, instead of squares) to make it a little more simple and to remove the right-left/left-right confusion. I'm not quite sure why some parts of the B are convex while others are concave. I may ask some of my knitting superiors for an answer. Once the B panel was complete, I just had to do the garter stitch edge and, voila! My first scarf, first no-pattern project complete!
 |
| The full length of the scarf. |
As always, here's a paragraph detailing the facts. I bought 200g of acrylic, Aran weight yarn. I didn't weight what I had left, but at an estimate, I'd say I used between 120g and 150g in this scarf (more than I was initially intending to use; I was originally going to do five panels, but, once I got to four, realised this would be too short). It was knitted on 5.5mm (UK 5) needles; in future, I think 5mm (UK 6) needles would have made the patterns more distinct, although it may have made the scarf a bit stiffer and less comfortable to wear. It took me two weeks to knit this scarf; I roughly worked a panel a day, but there was four or five days in the middle when I was away and could not knit. Each panel was exactly (or to the nearest number suitable for that pattern) thirty stitches long and exactly thirty rows high, with five stitches of garter on either side. In total, the scarf is comprised of 302 rows and 12,080 stitches.